
The classic French manicure remains a timeless and elegant choice for nails, exuding sophistication and neatness. Achieving those crisp, perfect smile lines at home can be a challenge, but nail stencils for French manicure offer a fantastic solution, simplifying the process and ensuring salon-quality results every time. These clever tools eliminate the guesswork and unsteady hands, making the dream of a flawless French tip a reality for anyone.
At Infinity Salon Jaipur, we understand the desire for beautiful nails and the joy of a perfect French manicure. While our salon offers expert services, we also believe in empowering our clients with the knowledge and tools to create stunning looks at home. This guide will explore the world of nail stencils, helping you choose the right ones and master their application for a professional-looking French manicure.
Using nail stencils for French manicure simplifies the application process
Nail stencils for French manicure are revolutionary tools that transform the way people achieve the iconic white tips. They are essentially adhesive guides that create a precise line for you to paint against, eliminating the need for a steady hand or years of practice. This makes them incredibly popular among DIY nail enthusiasts and professionals alike, saving time and ensuring consistency across all nails.
The main benefit of using these stencils is the unparalleled precision they offer. Hand-painting a perfect curve can be tricky, often resulting in uneven or wobbly lines. With a stencil, you simply adhere it to your nail, paint over the exposed tip, and peel it off to reveal a perfectly defined smile line. This simplicity is particularly appealing for those new to at-home manicures or anyone looking to speed up their nail routine without compromising on quality. Beyond precision, stencils open up a world of creativity, allowing for various tip shapes and designs that might otherwise be difficult to freehand.
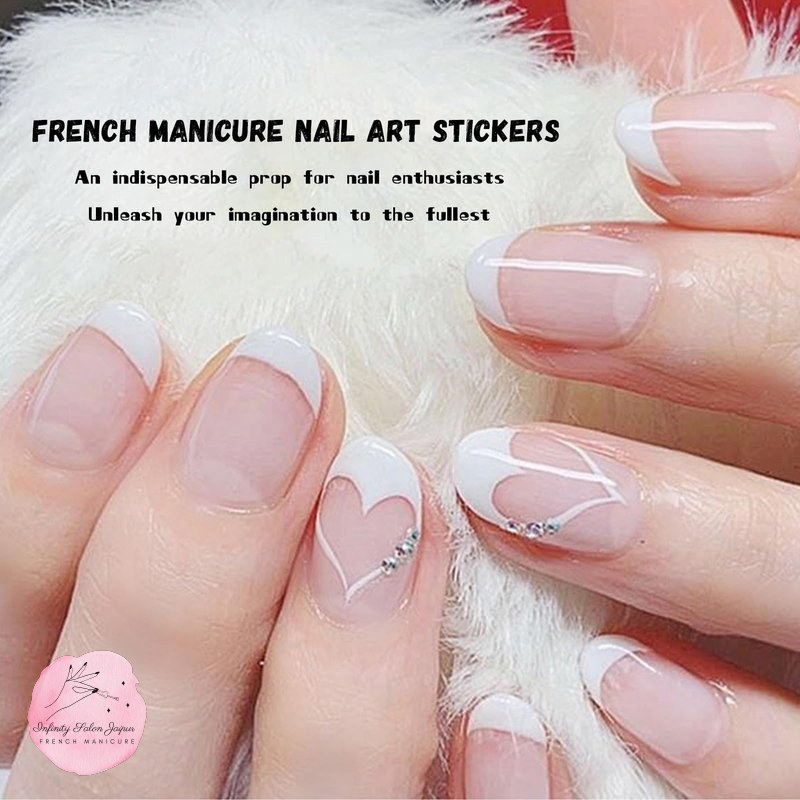
Discovering different types of nail stencils for French manicure
The market offers a wide variety of nail stencils for French manicure, each designed to cater to different preferences and skill levels. Understanding these options can help you select the best stencils to achieve your desired French tip style. From classic curved guides to more adventurous geometric shapes, there’s a stencil for every look.
Choosing adhesive French tip guides for easy application
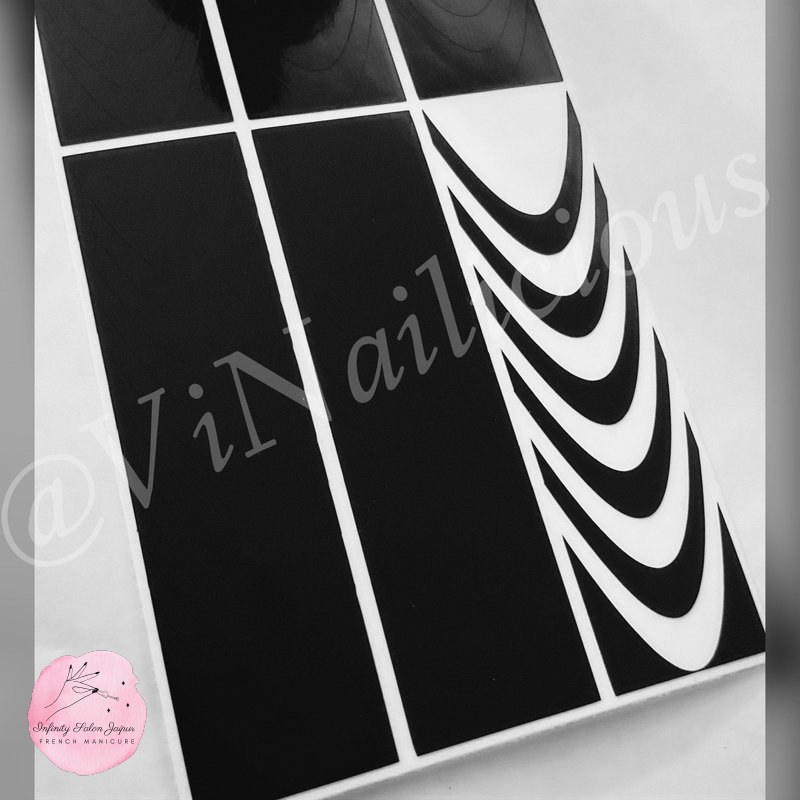
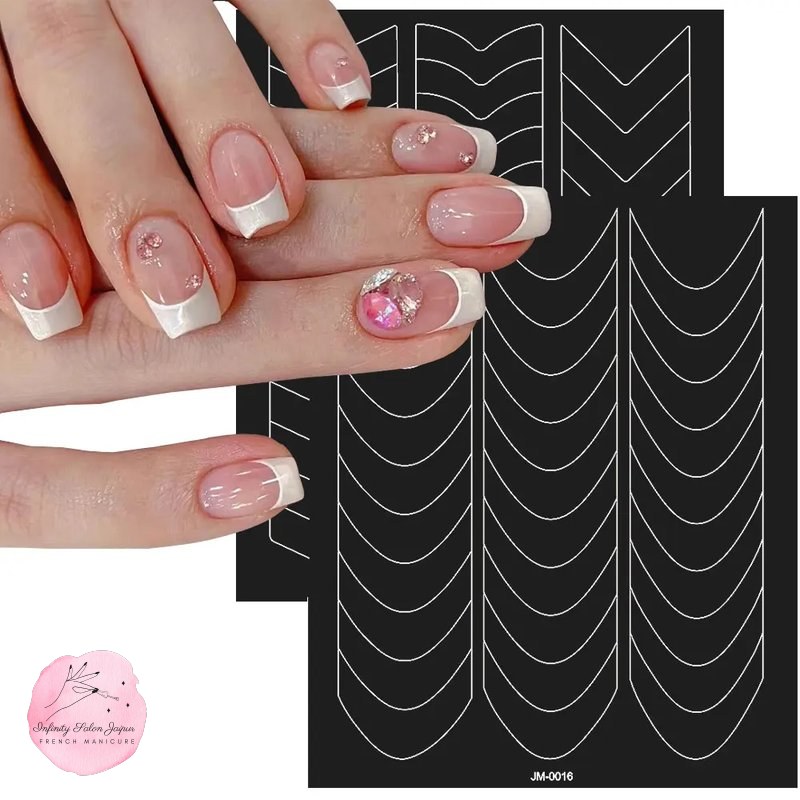
Adhesive French tip guides are the most common and user-friendly type of stencil. These self-adhesive strips are designed to stick firmly to your nail, creating a barrier that protects the nail bed while allowing you to paint the tip. They come in various shapes, including the traditional crescent moon, V-shaped, and even some wavy patterns, offering flexibility in your French manicure design. Their peel-and-stick nature makes them incredibly convenient for beginners and those who value speed and ease.
When using adhesive guides, proper placement is key. Ensure your base coat and colored polish are completely dry before applying the stencil to prevent smudging or lifting. Once the tip polish is applied and still wet, gently peel off the stencil to reveal a crisp line. This method is effective for both traditional polish and gel manicures, providing a clean edge every time. Many brands offer large packs, ensuring you have plenty of stencils for multiple manicures.
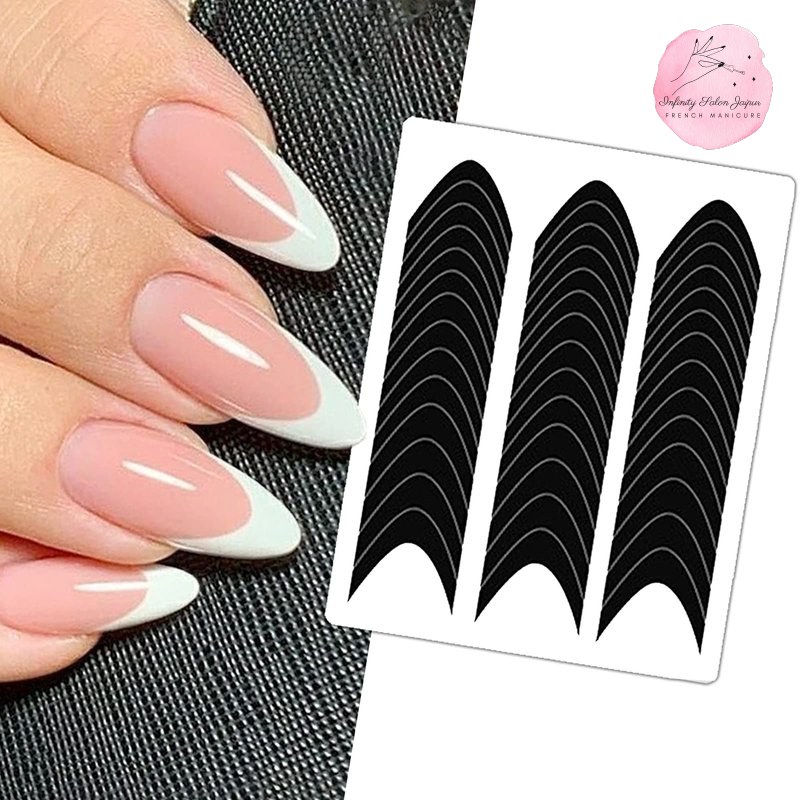
Exploring reusable silicone or metal stencils for eco-friendly options
For those seeking a more sustainable and long-term solution, reusable silicone or metal nail stencils are an excellent choice. Unlike their adhesive counterparts, these stencils are typically held in place manually or with a steady hand. They are durable, washable, and can be used countless times, making them an eco-friendly alternative to single-use stickers. While they may require a bit more practice to master, their longevity makes them a worthwhile investment.
Silicone stencils often feature a slightly flexible design, allowing them to conform better to the natural curve of your nail. Metal stencils, on the other hand, are rigid and offer incredibly precise lines. Both types require careful handling to prevent smudging, and it’s often recommended to use a small, fine brush for application with these stencils. They are particularly popular among experienced nail artists who appreciate the control and versatility they provide for intricate designs.
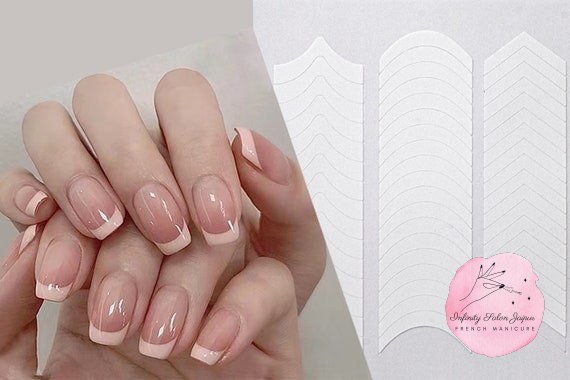
Understanding stamping plates for complex French manicure patterns
Stamping plates offer an advanced way to create French manicure designs that go beyond simple tips. These metal plates feature etched designs, including various French tip shapes and intricate patterns, which are then transferred to the nail using a stamper and special stamping polish. While not strictly “stencils” in the adhesive sense, they serve a similar purpose by guiding the application of a precise design.
Stamping allows for highly detailed and consistent results, making it ideal for creating elaborate French manicures with delicate patterns or unusual tip styles. The process involves applying stamping polish to the desired design on the plate, scraping off the excess, picking up the design with a silicone stamper, and then rolling the stamper onto your nail. This method requires a bit of practice but opens up a world of creative possibilities for unique French tip looks.
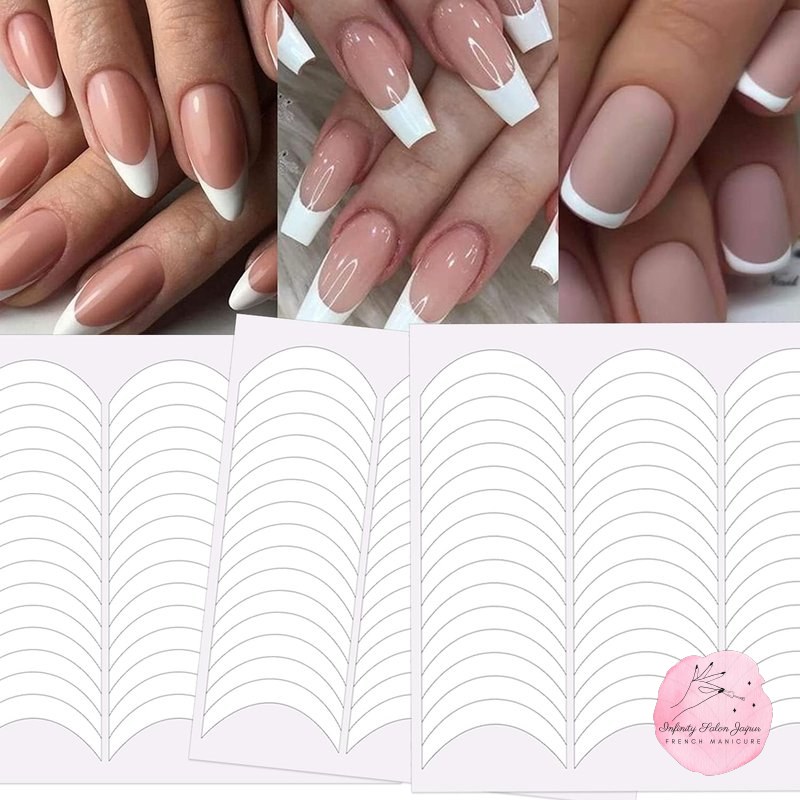
Mastering the application of nail stencils for a perfect French manicure
Achieving a flawless French manicure with nail stencils is a rewarding experience that requires a few simple steps and attention to detail. Proper preparation and technique are crucial for crisp lines and long-lasting results. By following these guidelines, you can ensure your French tips look professionally done every time, whether you are at home or visiting a salon like Infinity Salon Jaipur.
Preparing your nails for stencil application
Before applying any nail stencils, it’s essential to properly prepare your nails. Start by cleaning your nails thoroughly, ensuring they are free from any old polish, oils, or residue. Use a nail buffer to gently smooth the surface of your nails, which helps the base coat and polish adhere better. Push back your cuticles and trim any excess to create a neat canvas.
Next, apply a high-quality base coat. This step is vital as it protects your natural nails from staining and helps your manicure last longer. Allow the base coat to dry completely before moving on. Then, apply your chosen nude or sheer pink polish for the nail bed. Two thin coats are usually sufficient. Make sure this layer is absolutely dry to the touch before placing your nail stencils for French manicure. Any dampness can cause the stencil to lift the polish or create a messy line.
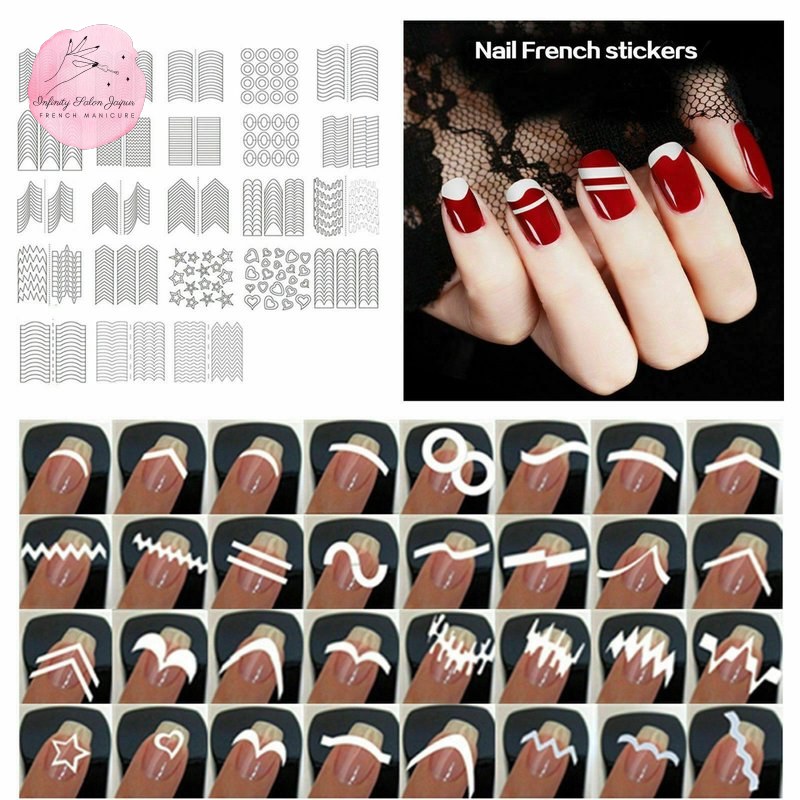
Step-by-step guide to using French manicure stencils
Once your base color is dry, it’s time to apply the nail stencils. Carefully peel off a stencil from its sheet, trying not to touch the adhesive side with your fingers too much to maintain its stickiness. Position the stencil across your nail, aligning it to create the desired smile line for your French tip. Press down firmly along the edges of the stencil to ensure there are no gaps where polish could seep underneath. This creates a clean barrier for your white tip.
Now, apply your white or chosen tip color over the exposed area of the nail, above the stencil. Use thin coats to avoid creating a thick, uneven line. While the tip polish is still slightly wet (but not runny), carefully peel off the stencil. This is a critical step; removing the stencil while the polish is still tacky prevents the polish from drying and peeling with the stencil, leaving a crisp line. Repeat this process for all your nails.
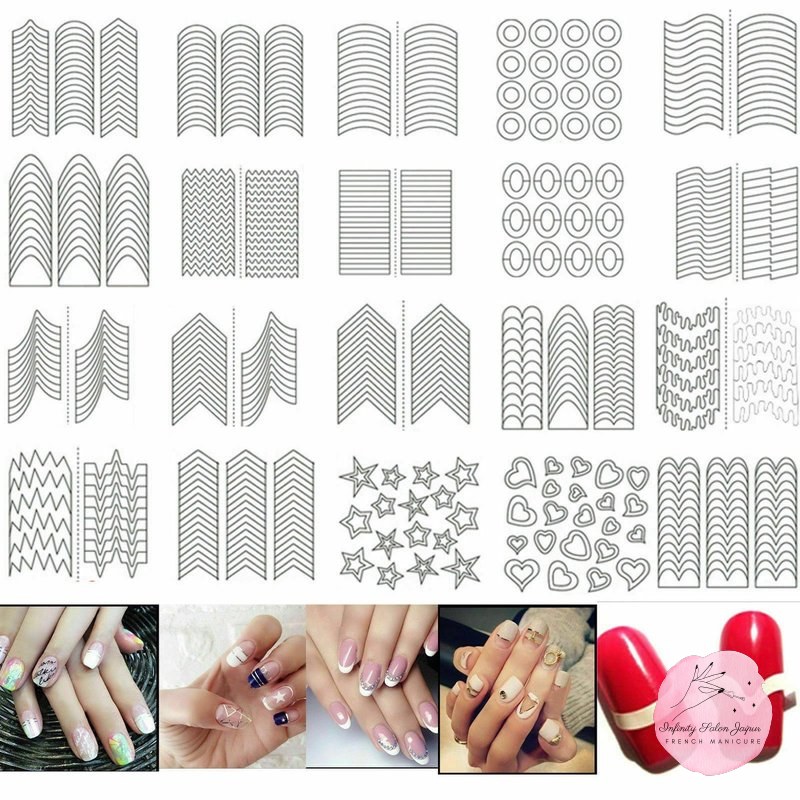
Finishing touches and sealing your French manicure
After all your tips are perfectly painted and the stencils removed, allow the white polish to dry completely. This might take a bit longer than your base coat, especially if you applied two coats. Once dry, apply a high-quality top coat to seal in your design, add shine, and protect your manicure from chips and scratches. A good top coat will also help to smooth out any slight ridges between the tip and the nail bed colors.
For extra durability and shine, consider using a quick-drying top coat or a gel top coat cured under a UV/LED lamp. This will extend the life of your French manicure and give it a professional, glossy finish. Regularly apply cuticle oil to keep your nails and cuticles healthy, which contributes to the overall neatness and longevity of your manicure. With these steps, your French manicure with nail stencils will look beautiful and last for days.
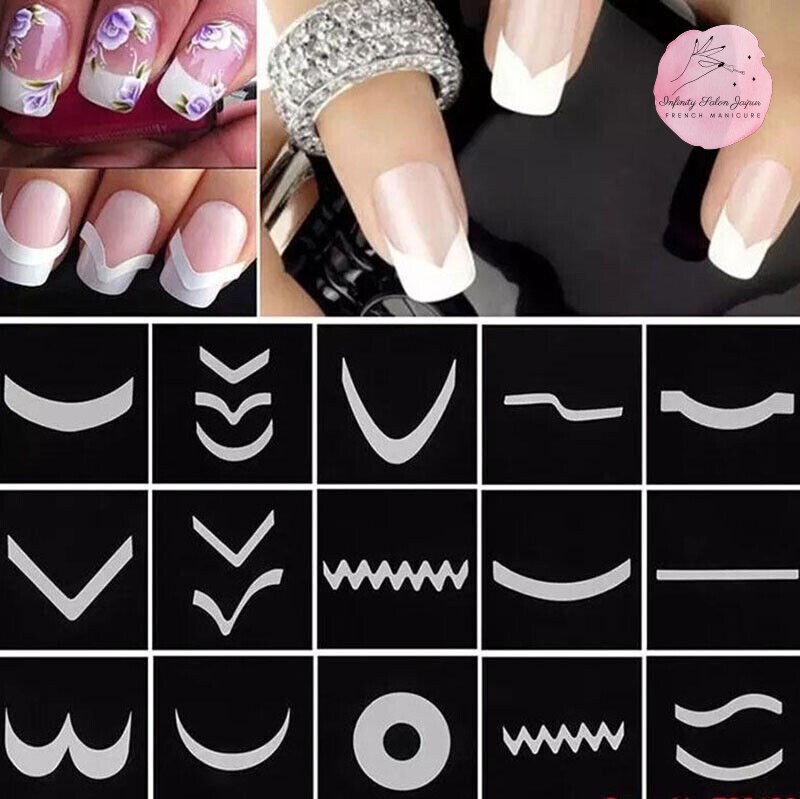
Tips and tricks for using nail stencils for French manicure effectively
Achieving a truly flawless French manicure with stencils goes beyond basic application. A few insider tips and tricks can elevate your results, ensuring cleaner lines, longer wear, and an overall more polished look. These techniques address common challenges and help you maximize the potential of your nail stencils for French manicure.
Ensuring crisp lines and preventing polish bleed
One of the most common challenges when using nail stencils is preventing polish from bleeding under the stencil, which can ruin the clean line. To combat this, ensure your base polish layer is completely dry before applying the stencil. Any residual tackiness can cause the stencil to adhere improperly or lift the underlying polish when removed. Additionally, press the stencil down very firmly along its entire edge to create a tight seal.
When applying the tip color, use thinner coats. Thick polish is more likely to seep under the stencil. Also, consider using a slightly thicker, more opaque polish for your tips, which might require fewer coats. Remove the stencil promptly after painting the tip, while the polish is still wet but not runny. Waiting too long can cause the polish to dry and stick to the stencil, leading to jagged edges when peeled off. A fine brush can also be used to quickly clean up any tiny smudges along the line before the polish dries.
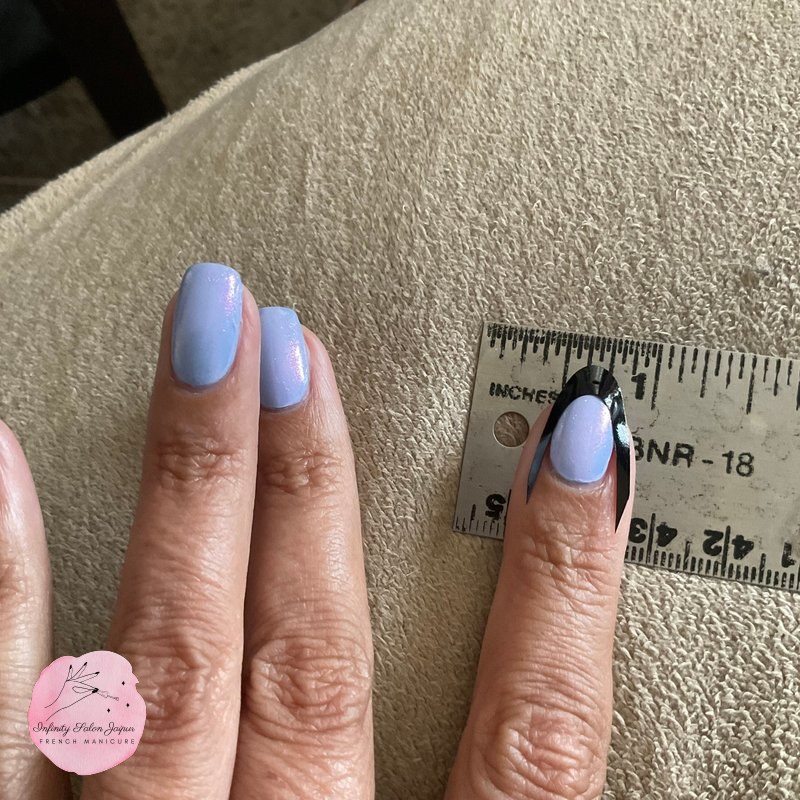
Creative variations using French manicure stencils
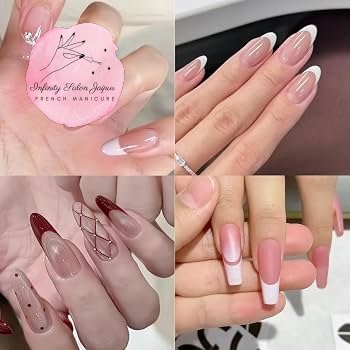
While traditional white tips are classic, nail stencils for French manicure open up a world of creative possibilities. Don’t limit yourself to white; experiment with different colors for your tips. Bright neons, pastels, metallics, or even glitter polishes can add a modern twist to the classic French look. You can also try a reverse French manicure by painting the moon of your nail a different color, using the stencil to define that lower curve.
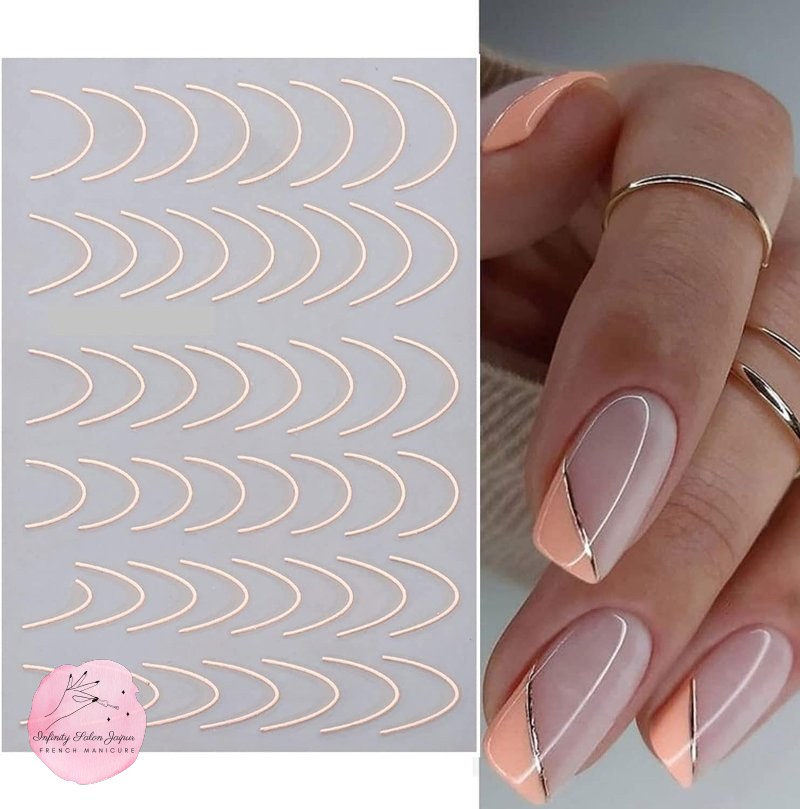
Beyond color, explore different stencil shapes. Many stencils come in V-shapes, wavy lines, or even geometric patterns that can create a unique and artistic French tip. For an added touch, after removing the stencil, you can apply small rhinestones, studs, or delicate nail art stickers along the smile line to enhance the design. These variations allow you to personalize your French manicure, making it truly your own.
Maintaining your French manicure for longevity
To ensure your perfectly stenciled French manicure lasts as long as possible, proper aftercare is crucial. Always apply a high-quality top coat, reapplying it every two to three days to refresh the shine and add an extra layer of protection against chips. This is especially important for the tips, which are often the first to show wear.
Protect your nails from harsh chemicals by wearing gloves when doing household chores or washing dishes. Avoid using your nails as tools to pick or pry things open, as this can easily cause chipping. Keep your cuticles and nails hydrated by regularly applying cuticle oil and hand cream. Healthy nails are less prone to breaking and peeling, which helps maintain the integrity of your manicure. By following these maintenance tips, your French manicure, perfected with nail stencils, will look pristine for an extended period.
Comparing traditional French manicure techniques with stencil methods
The elegance of a French manicure is undeniable, but the method of achieving it has evolved. While traditional freehand techniques have their place, the introduction of nail stencils for French manicure has revolutionized accessibility, offering a simpler and often more precise alternative. Understanding the differences between these approaches can help you decide which method best suits your skill level and desired outcome.
| Feature | Traditional Freehand French Manicure | Nail Stencils for French Manicure |
|---|---|---|
| Precision | Requires high skill and a very steady hand for perfectly crisp lines. Prone to inconsistencies. | Provides consistent, sharp, and even smile lines with minimal effort. |
| Ease of Use | Difficult for beginners; requires significant practice to master. | Beginner-friendly; simplifies the process considerably. |
| Time Investment | Can be time-consuming, especially for intricate designs or if mistakes need correction. | Faster application once the stencil is correctly placed. |
| Versatility | Limited by freehand skill; complex shapes are challenging. | Offers various tip shapes (moon, V-shape, wavy) and consistent results. |
| Cost | Mainly cost of polish and brushes; no recurring stencil cost. | Initial cost for stencils (can be one-time for reusable, or recurring for disposable). |
| Skill Level | Expert/Intermediate | Beginner/Intermediate |
| Common Issues | Uneven lines, smudges, inconsistent tip width. | Polish bleeding under stencil if not properly sealed, stencil lifting polish. |
Traditional freehand French manicures are a testament to skill and patience. Professional nail technicians train extensively to achieve that perfect, symmetrical smile line using only a brush and polish. This method allows for ultimate customization in terms of curve depth and width, as it’s entirely guided by the artist’s hand. However, for the average person attempting this at home, the learning curve is steep, often leading to frustration and less-than-perfect results. It demands a very steady hand, good lighting, and often multiple attempts to get it right.
In contrast, nail stencils for French manicure democratize the French tip. They provide a tangible guide, transforming a challenging freehand task into a straightforward application process. While freehand offers unique artistry, stencils offer reliable perfection, making the classic French manicure accessible to everyone. For those seeking efficiency and consistency without years of practice, stencils are the clear winner. Ultimately, the choice depends on your personal preference, skill level, and the time you’re willing to invest in your manicure.
Frequently asked questions about nail stencils for French manicure
What are nail stencils for French manicure?
Nail stencils for French manicure are adhesive guides or templates designed to help you create a crisp, clean smile line for the white tip of a French manicure. They come in various shapes and sizes, making it easier to achieve a professional-looking French tip at home without needing a perfectly steady hand.
Can beginners use French manicure nail stencils?
Yes, French manicure nail stencils are ideal for beginners. They simplify the process of achieving a neat French tip, as they provide a clear barrier for you to paint against, significantly reducing the chances of mistakes and making the classic look accessible to everyone.
How do I prevent polish from bleeding under the stencil?
To prevent polish bleed, ensure your base coat and nude polish are completely dry before applying the stencil. Press the stencil down firmly along all edges to create a tight seal. Apply thin coats of tip polish, and remove the stencil while the tip polish is still slightly wet but not runny.
Are nail stencils reusable?
Most nail stencils for French manicure are single-use adhesive stickers. However, there are also reusable options made from silicone or metal. These require more careful handling and cleaning but are a more eco-friendly and cost-effective choice for long-term use.
Can I use French manicure stencils with gel polish?
Yes, French manicure stencils work well with gel polish. Apply your gel base coat and nude gel color, curing each layer. Then, apply the stencil, paint your tip gel color, and cure it before gently removing the stencil. Finish with a gel top coat and cure.
Perfect your French manicure with Infinity Salon Jaipur
Nail stencils for French manicure are truly game-changers for anyone looking to achieve a professional and polished French tip at home. They remove the stress of freehand painting, allowing you to create consistently crisp and beautiful smile lines. From classic curves to creative variations, these stencils empower you to express your style with ease and precision. We’ve covered everything from choosing the right stencil to mastering application and maintaining your flawless look, ensuring you have all the tools to elevate your DIY manicures.
Whether you’re a seasoned nail art enthusiast or a beginner venturing into the world of French tips, incorporating nail stencils into your routine will undoubtedly enhance your results. Remember the key steps: proper nail preparation, careful stencil placement, thin polish application, and timely removal of the stencil for that perfect finish. Embrace the simplicity and effectiveness of these tools to always keep your nails looking impeccably chic. For professional nail services and expert advice, visit Infinity Salon Jaipur, where our skilled technicians are always ready to help you achieve your desired nail aesthetic. Explore the possibilities and give your nails the perfect French manicure they deserve with the help of nail stencils for French manicure.